Procedural Brick Wall Generator
How to install Brick Wall Generator:
After you download the add-on package, open blender and go to Edit ->
Preferences. Go to the Add-ons tab and install the downloaded zip file
(Brick-Wall-Generator.zip). Enable the add-on and you’ll get two menu
options called Create Brick Wall Light and Create Brick Wall Dark under
Object -> 5 Minutes Blender menu. Please refer to the installation
document for a step-by-step guide with screenshots.
How to use Brick Wall Generator:
You can easily create some eye-catching brick walls using Brick Wall Generator in a few simple steps. Let us see how.
Select an object which you want to convert into a brick wall. You can use any object – it does not matter. Only the location, rotation and scale information of the selected object will be copied to the wall output. You can simply use a cube as well.
The dimensions of the selected object are not used by the wall. The wall dimensions (length, height etc) are controlled by the input parameters as described below. You can change it easily.
Once you use the menu option to convert the cube into a brick wall, you will see the following modifier added to the cube, in the modifiers tab. And it is nothing but a geometry node group.

Here are the functionalities of the input parameters:
Wall Length: Defines the length of the wall. Minimum value accepted is 0.15
Wall Height: Defines the height of the wall. Minimum value accepted is 0.075
Brick Length: Defines the length of each brick. Minimum value accepted is 0.01
Brick Depth: Defines the thickness of each brick. Minimum value accepted is 0.01
Brick Height: Defines the height of each brick. Minimum value accepted is 0.01
The given dimensions of the brick may be slightly adjusted in order to fit a whole number of bricks in each line.
Displacement: Defines the amount of random displacements of the bricks. Minimum value is -0.1 and maximum is +0.1, can be zero as well.
You should use a very low value like 0.005 for a realistic output. Displacements work better when you hide the joints between the bricks (set Hide Joints value to 1 to hide the joints).
Weather Factor: Amount of weather factor to impact the texture pattern of the wall. It can vary from 0 (no weathering effect) to 1 (full effect).
Weather Seed: A random value used as a seed for the weathering effect on the wall. You can change this value to create variations in the weathering effect.
Vertical Bricks: When enabled, the bricks are placed on their shortest side instead. Value = 0 means this is disabled and value = 1 means enabled.
Hide Joints: When enabled (value = 1), no joint will be visible between the bricks. Bricks will automatically get beveled for a better display.
Horizontal Gap: If you hide the joints, you can specify a gap among the horizontal bricks. If the joints are not hidden, this value is ignored for a realistic output.
Limitations on the Brick dimensions
You can change the Brick dimensions as you wish, but a logical relationship has to be always maintained among them. For example, the brick length cannot be more than the wall length, and the brick height cannot be more than the wall height. The brick height and the thickness of the brick both cannot be more than its length. The node will automatically validate them. Any wrong value entered by the user will be auto-converted to the nearest best match.
Materials added by Brick Wall Generator
The following two materials will be added and will be available throughout the project. They will be assigned to your wall object only through nodes, and may not be visible in the material slots by default (a limitation of geometry nodes). No change is needed. If you want, you can manually add them to the material slots – but the wall displays correctly even without them!

Brick wall size is too small?
When you convert an object like the default cube into a brick wall, it may look quite small compared to the original size of the object. This is not a malfunction. The size of the brick is real-life, and the size of the wall is driven by the length and height entered by you. If you enter 3 meter for the length and 2 meter for the height, the wall will have that exact dimension!
Two examples of Displacement effect with Hide Joints disabled


Displacement works better with Hide Joints enabled (value = 1)
If you want to display the brick joints, use a very low value for displacements. It works far better without joints (Hide Joints value = 1). Displacements are primarily to be used for game arcades, ruins or debris. For school, market or any office building, set displacements to zero.

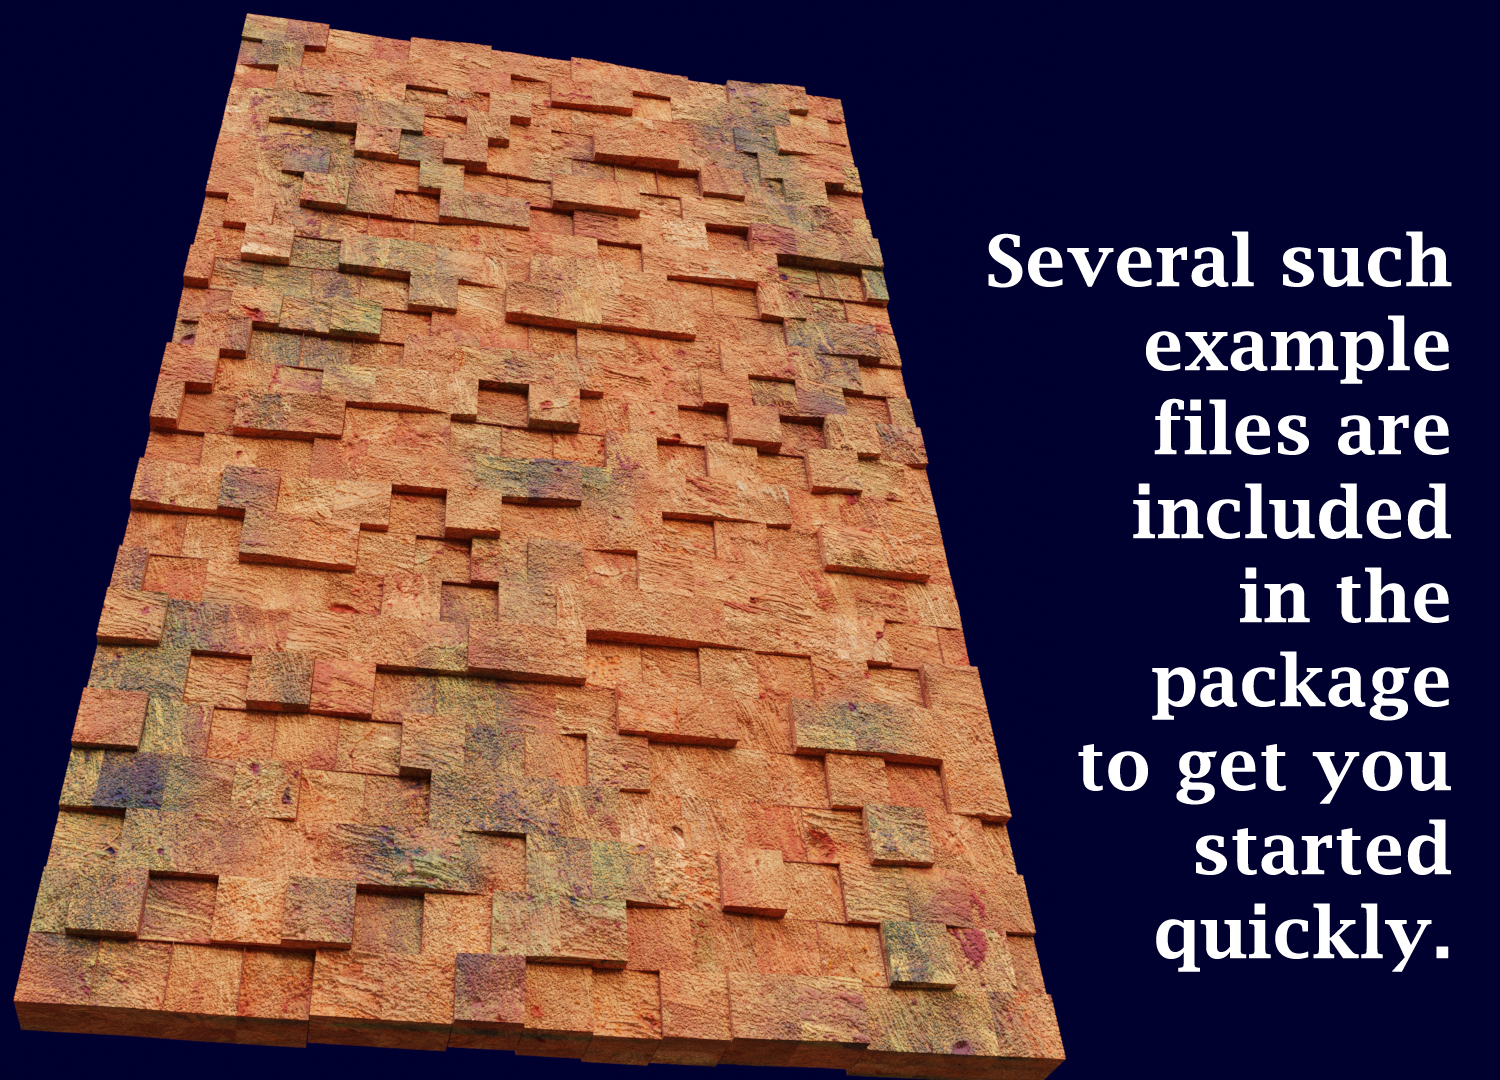
Two examples of Brick Walls without joints and with horizontal gaps

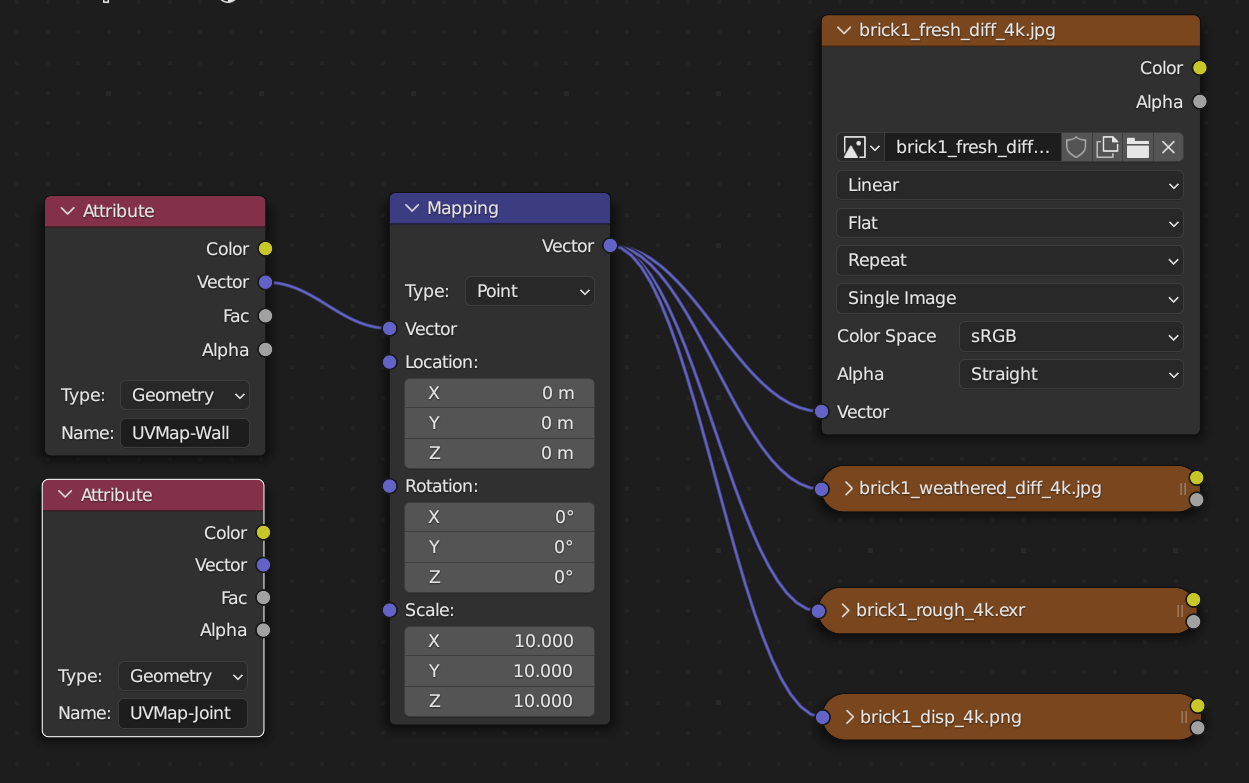
How to use the UV maps and apply your own textures:
Brick Wall Generator creates two UV maps for the object it is attached to. They are named as UVMap-Wall and UVMap-Joint. The first one is for the bricks, and the second one is for the joints. You can assign two different materials corresponding to these two UV maps. For the joints, you can go with a simple solid color as well for simplicity.
Brick Wall Generator will also create two materials for the wall named as Wall-Brick-Material and Wall-Joint-Material. They will be assigned to your wall object only through nodes, and may not be visible in the material slots (a limitation of geometry nodes). No change is needed. If you want, you can manually add them to the material slots – but it is not needed as such.
Likewise, since the UV maps are also created by geometry nodes, they are not available under the UV Map list. But you can access the UV maps using an Attribute Node in a Shader Editor as shown below. You don’t need to change anything in this. But if you want to use these maps in your own shader, you have to manually type-in the UV map name UVMap-Wall or UVMap-Joint as applicable. Then you can use any other texture file of your choice for the wall material.
| Sales | 50+ |
| Dev Fund Contributor | |
| Published | over 1 year ago |
| Blender Version | 4.1, 4.0, 3.6, 3.5, 3.4 |
| License | GPL |
Have questions before purchasing?
Contact the Creator with your questions right now.
Login to Message