Effortless Renders
Installation Steps
1. Download the Addon
Ensure you have the addon file named "effortless-render-verX.X.zip". This file contains everything needed to install the addon in Blender.
2. Open Blender
Launch your Blender application. Ensure you're using a version compatible with the Effortless Render addon.
3. Install the Addon
Follow these steps to install the addon:
Go to Edit > Preferences in the Blender top menu.
In the Preferences window, navigate to the Add-ons tab.
Click on Install... at the top of the Add-ons window.
Navigate to the location of your downloaded "effortless-render-verX.X.zip" file.
Select the file and click Install Add-on.
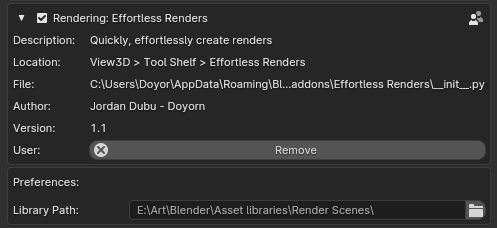
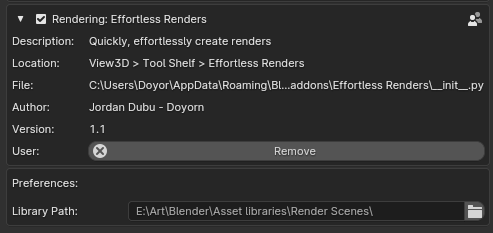
Library Setup
The Effortless Render addon works in tandem with an external library, which can be placed in any location on your system. Follow these steps to configure the library path within Blender:
1. Download the Library
Download the necessary library zip file asset.zip. You can store these files in any convenient location on your system.
2. Configure the Library Path
After enabling the addon, you'll need to specify the location of the library within Blender:
Navigate to the addon's settings within Blender.
Find the section labeled "Library Path".
How to use
Rendering Your Object
1. Accessing Effortless Render
To access the Effortless Render addon:
Navigate to the 3D Viewport in Blender.
Look for the Tool Panel on the left side of the viewport. If it's not visible, press T on your keyboard to toggle its visibility.
Within the Tool Panel, locate and click on the "Effortless Render" tab or section.
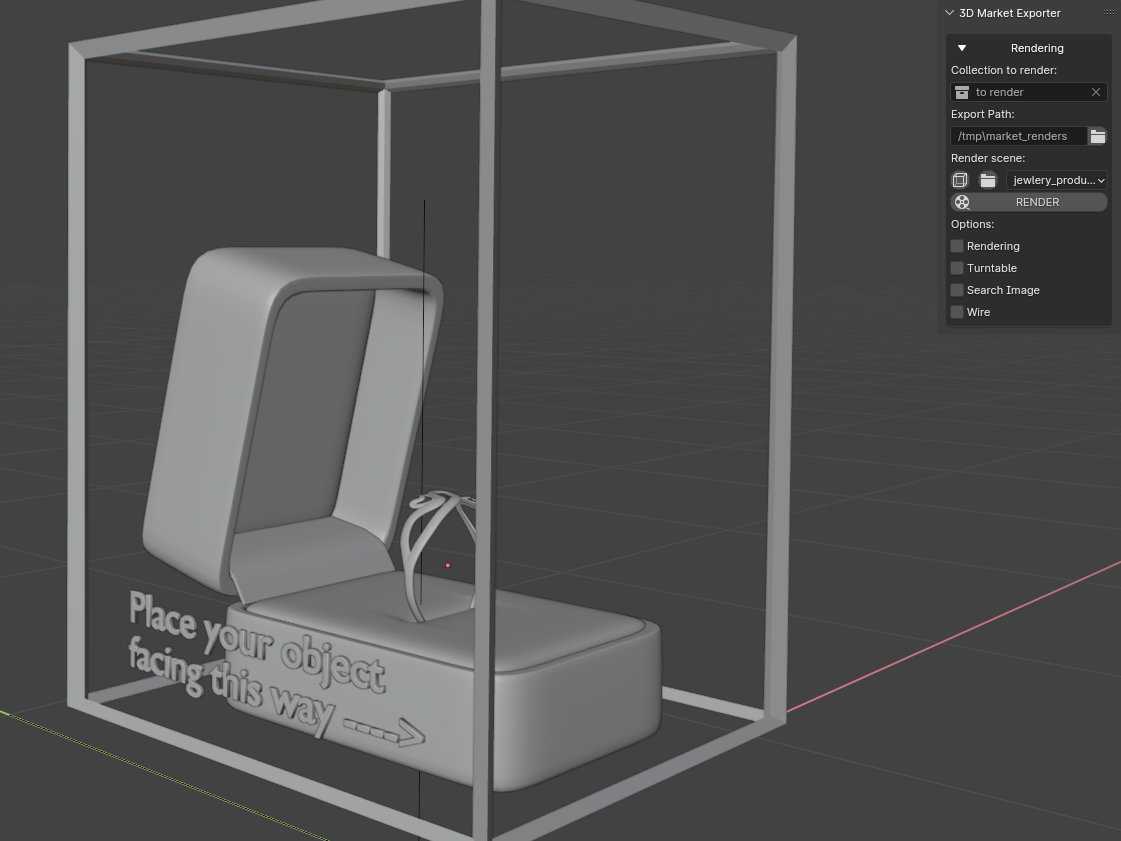
2. Prepare Your Object
Make sure your 3D object or scene is ready for rendering, in a collection, clic on the box button to trigger a helper box to place it better in the selected scene
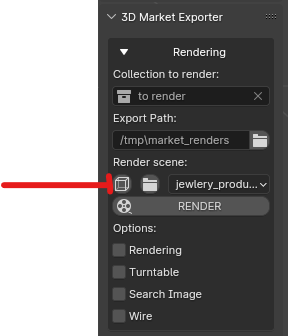
3. Configure Render Settings
With the Effortless Render panel open, you will see various options to configure your render:
Select Subject Collection: Choose the collection that contains the object or scene you wish to render.
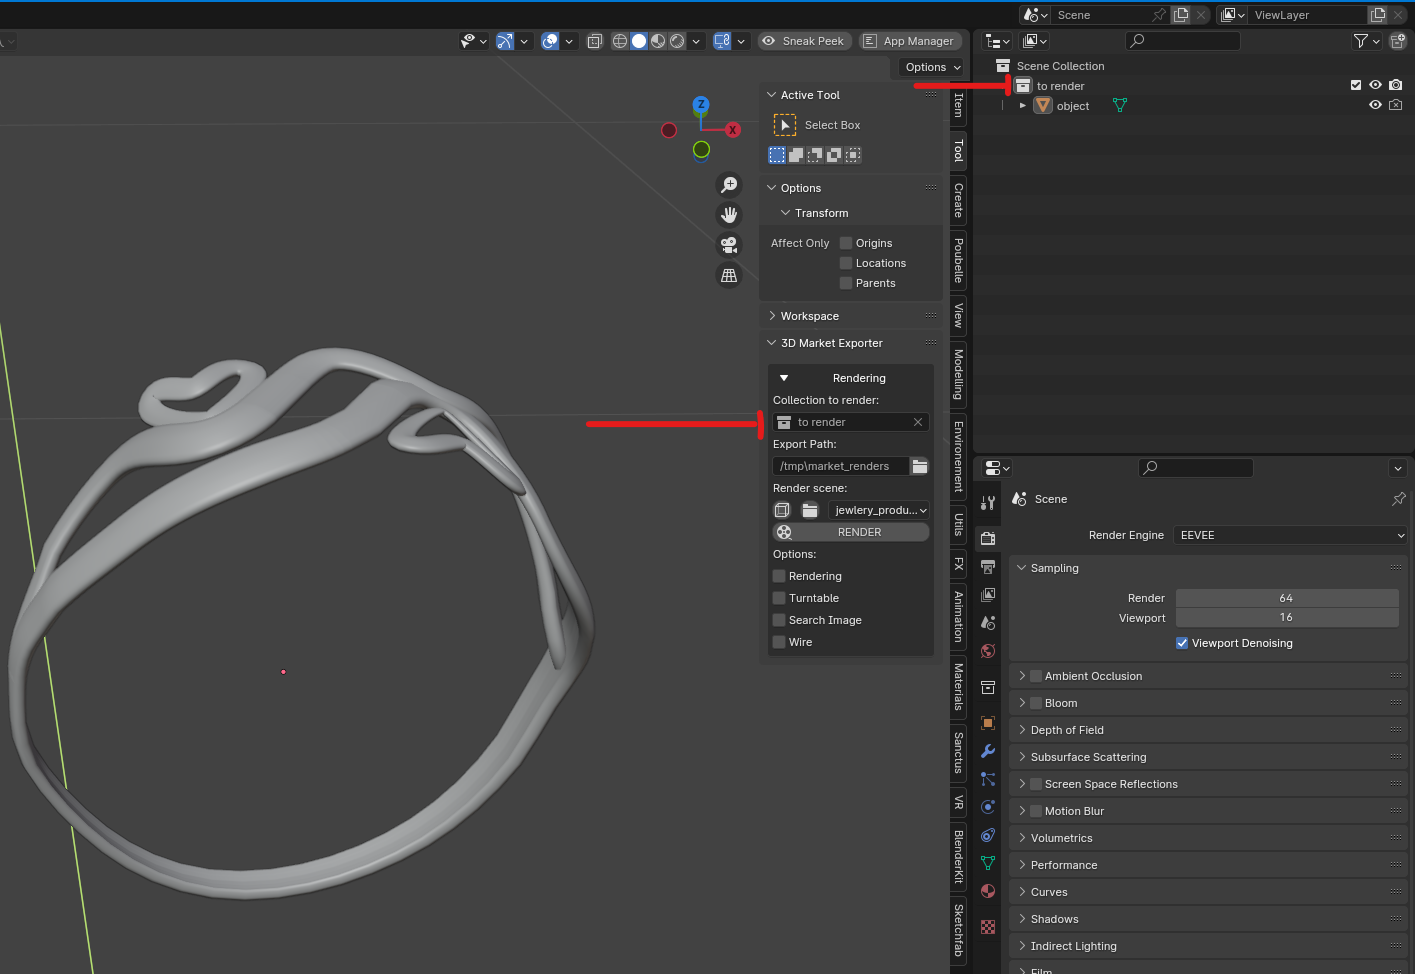
Select Scene: Specify the scene that corresponds to your subject. This ensures that all scene-specific settings, such as lighting and camera position, are applied to your render.
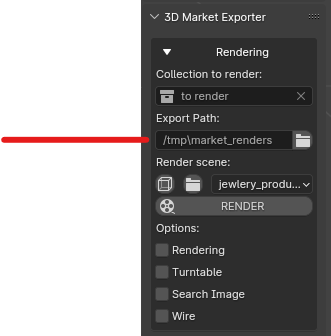
Export Path: Decide where you want your rendered images or animations to be saved.
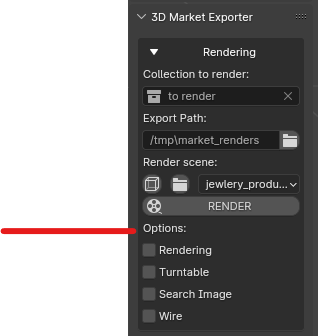
Render Modes: Choose the desired render modes. This could include options like high-quality render, preview render, or custom settings tailored to your project's needs.
4. Start Rendering
Once you've configured all the necessary settings:
Click the render button within the Effortless Render panel.
Choose a product version:
| Published | about 2 months ago |
| Blender Version | 4.0 |
| License | GPL |
Have questions before purchasing?
Contact the Creator with your questions right now.
Login to Message