Zigzag Extrude
Installation

- Go to Edit -> Preferences.
- Select the Add-ons tab on the left it is not already.
- Select the Install... button along the top.
- This will open a file dialog where you should navigate to where you have downloaded the "ZigZag Extrude" zip file. This file should not be unzipped.
- Then, click the "Install add-on from file" button.
- Search for the add-on by typing "ZigZag Extrude" in the search box if it does not already appear.
- Make sure the checkbox next to the Add-on (Mesh: ZigZag Extrude) is ticked.
Using ZigZag Extrude
The add-on works by creating customisable insets that creates a jagged effect to an extrusion. You have the following options which allow you to bevel, taper, bend, and move the extrusion effect. The add-on should work on face selections of tris, quads or n-gon faces - basically any type of face you can select in Blender.
To perform a ZigZag Extrude:
- Select a mesh and go into face edit mode. Select the face(s) you wish to perform a ZigZag extrusion on.
- Either:
- Right click for the context menu and select ZigZag Extrude
- Press the F3 and start typing 'ZigZag Extrude' to select the menu item.
- Move the mouse to set the initial extrusion amount.
Then, a set of expandable panels appear in the Toolbar window, usually on the bottom left hand side of Blender. Expand this menu:
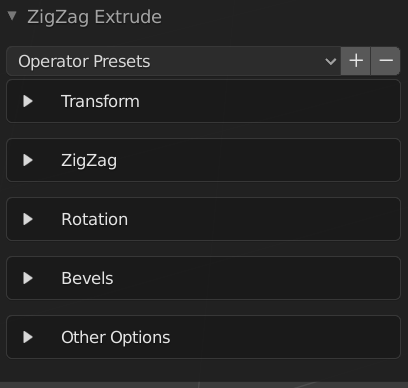
Each expandable section is described below:
Transform
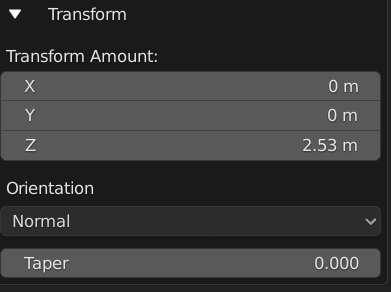
Transform Amount: The amount to move the extruded face by.
Orientation: The orientation of the extrusion: Either extrude along the average normal of the selected faces, or along the object's local axis, or by the global orientation.
Taper: How tapered to make the overall extrusion. Useful for creating step like effects.
ZigZag
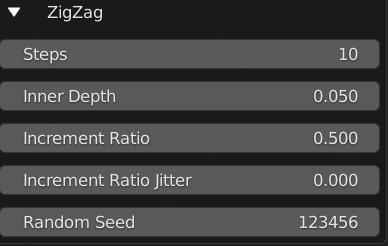
These are the options that control the jagged effect of the ZigZag:
Steps: The number of steps in an extrusion:
Inner Depth: How deep the ZigZag goes. Note - too deep a depth can result in non-manifold geometry.
Increment Ratio: The ratio between the inner increments of the extrusion and the outer increments. A value of 1.0 creates a total outer extrusion; a value of 0.0 will create a total inner extrusion:

Increment Ratio Jitter: You can add a random variation to the increment ratios to create further interesting effects. A value of 0.0 has no effect. A value of 1.0 creates maximum variation.
Random Seed: Change the random seed for the increment ration jitter to change the randomness.
Rotation
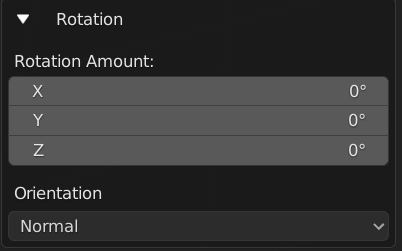
You can control the rotation of the extrusion to create a bendable pipe effect. Note that you can alternatively use proportional editing or curve modifiers to create even more intricate effects.
Rotation Amount: The amount of rotation either in the X, Y, or Z axis.
Orientation: The direction of the axis for the rotation. By default, the rotation axis is aligned to the average normal of the selected faces. You can alternatively choose Local or Global Orientations.
Bevels
You can add bevel effects to the extrusion, to create pipe-like effects.
You can control the bevels either by the Amount (which directly changes the mesh) or by Weight (which can be used with the Bevel Modifier to add bevel effects without directly changing the mesh).
Amount Mode
This mode: will directly change the mesh:
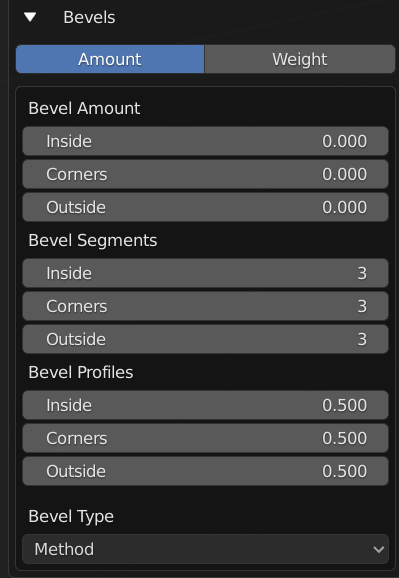
- Inside: Bevel the inside parts of the extrusion.
- Corners: Bevel the major corners of an extrusion. A corner is defined as when two edges share a face.
- Outside: Bevel the outside parts of the extrusion.
Bevel Segments: The number of segments for each part of the extrusion.
Bevel Type: Selects how the values controls the size of the bevel. See the Bevel Documentation for the different options.
Weight Mode
Weight mode applies weight values to the extruded edges and does not edit the mesh directly. These weight values can then be used with the Bevel Modifier in 'Weight' mode so that the mesh can be changed non-destructively.
- Inside: For the inside parts of the extrusion.
- Corners: The major corners of an extrusion. A corner is defined as when two edges share a face.
- Outside: For the outside parts of the extrusion.
Other Options
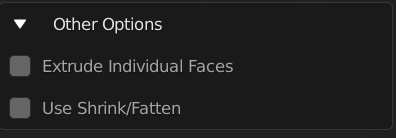
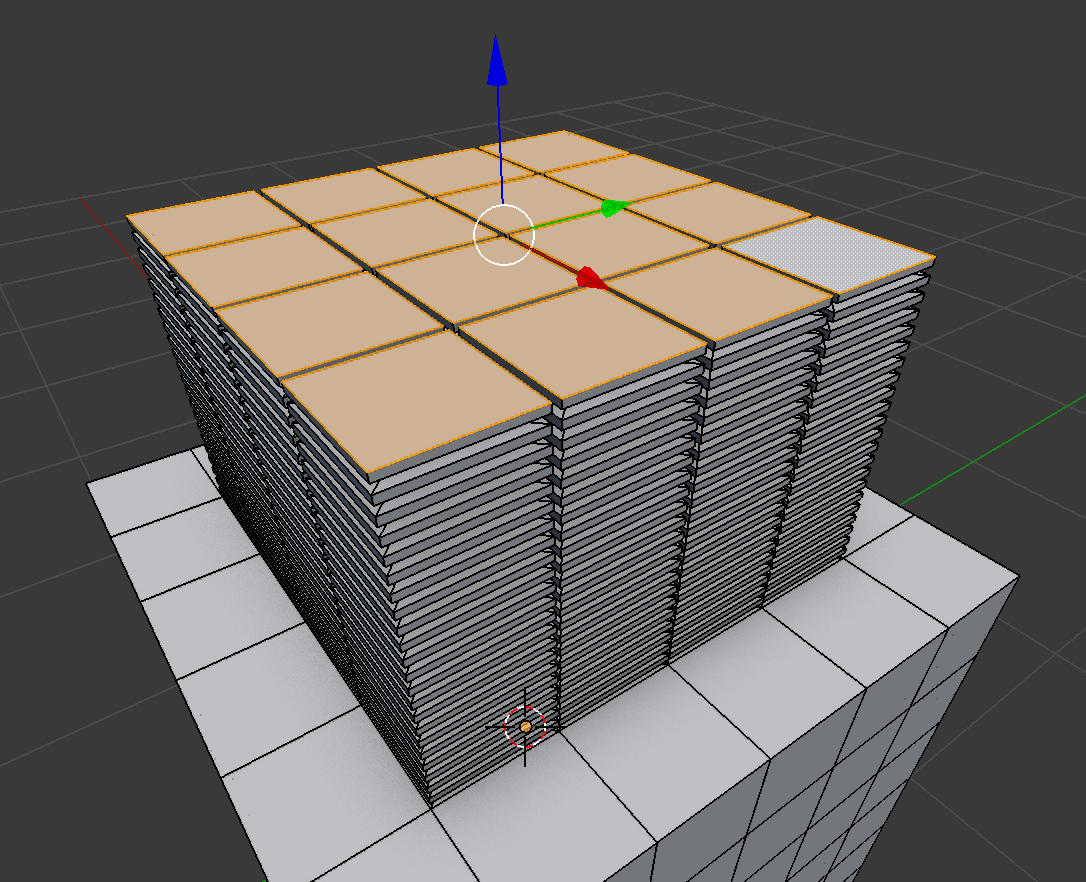
Extrude Individual Faces: This will generate the effect against each individual face:
Use Shrink/Fatten: Use a shrink/fatten operation along the z axis to change the way faces are extruded:
Keyboard shortcuts
Whilst performing the extrusion operation, you can also use the following keyboard shortcuts:
X/Z: Increase or decrease the number of extrusion steps.
R/F: Change the taper amount.
Q/A: Increase/Decrease the outer bevel amount.
W/S: Increase/Decrease the corner bevel amount.
E/D: Increase/Decrease the inner bevel amount.
T: Change Bevel Type.
Questions?
If you have any questions or issues with the add-on, don't hesitate to contact me through Blender Market or my Twitter page @markkingsnorth.
Discord
Share your work and get support through the Configurate support channel here.
| Sales | 300+ |
| Customer Ratings | 1 |
| Average Rating | |
| Dev Fund Contributor | |
| Published | about 5 years ago |
| Blender Version | 4.1, 4.0, 3.6, 3.5, 3.4, 3.3, 3.2, 3.1, 3.0, 2.93, 2.92, 2.91, 2.9, 2.83 |
| License | GPL |
Have questions before purchasing?
Contact the Creator with your questions right now.
Login to Message